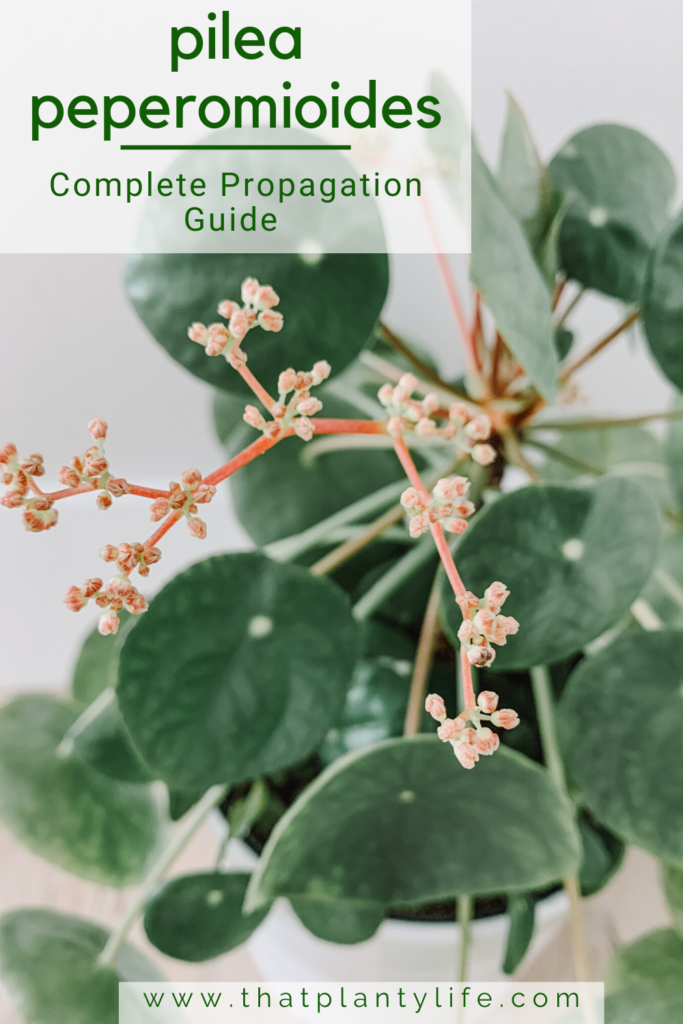
Pilea Peperomioides Propagation -Everything You Need to Know
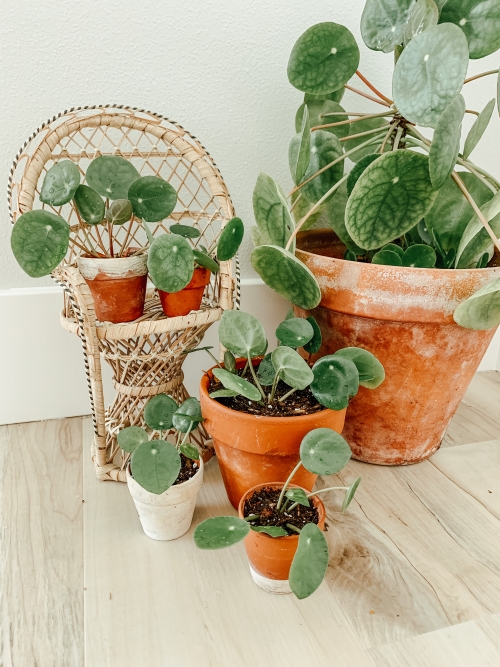
The Pilea Peperomioides is an easy-to-care-for houseplant that’s unique shaped leaves are sure to bring a smile to anyone who sees it. It is known by many names, Chinese Money Plant, UFO plant, Pancake plant, and Missionary plant. The Pilea Peperomioides has been on its rise to fame for the last couple of years. Before its mass production, it was shared solely through plant friends by propagating the pups!
Today we’re going to give you a step by step of how to propagate your own Pilea so you can start sharing the planty love with all of your friends as well. We also won’t judge you if you simply want to have a field of Pileas in your living room.
Reasons to Propagate Your Pilea
- Free baby plants
- Free gifts for anyone/everyone
- Encourage the mama Pilea to focus more on her growth than on supporting her babies
- It’s just plain fun
Supplies:
Pilea Plant with pups
Clean, sharp gardening shears
Noot Plant Nutrition (Optional)
Where are my pups?
If your Pilea hasn’t been giving you any pups check out our Pilea Peperomioides care guide to get more tips on how to help your Pilea be as happy as possible. Once they have all their care needs met, they usually sprout up pups like crazy!
Pilea Peperomioides Propagation
Step 1:
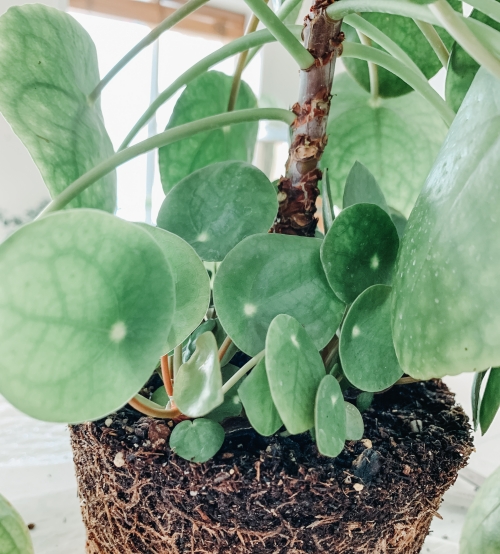
Grab you mama Pilea and carefully remove her from the pot to make it easier to access the pups. This is also a great chance to take a look at the roots. Make sure they are healthy and determine if it’s time for a bigger pot.
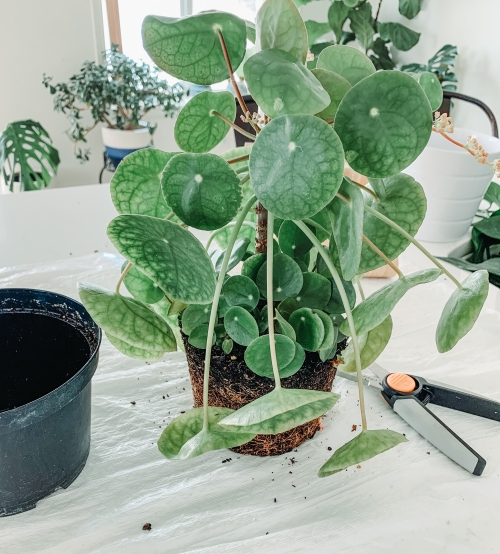
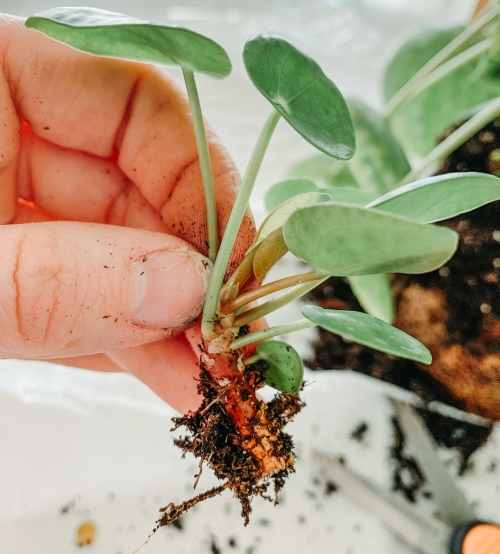
Step 2:
Next, you need to locate the pup that you want to separate and propagate. Try to find the biggest one you can; the larger pups will have the greatest chance of success as their own baby plant.
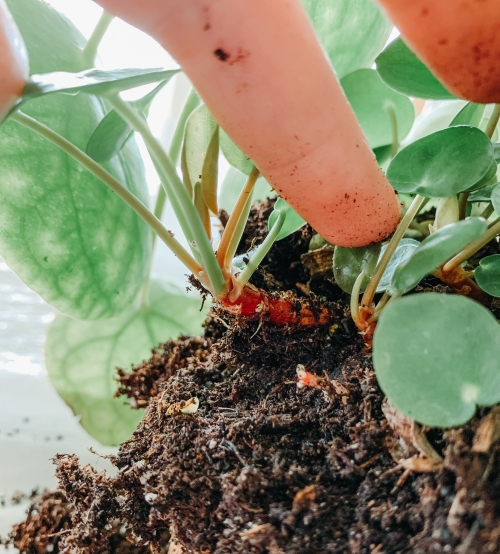
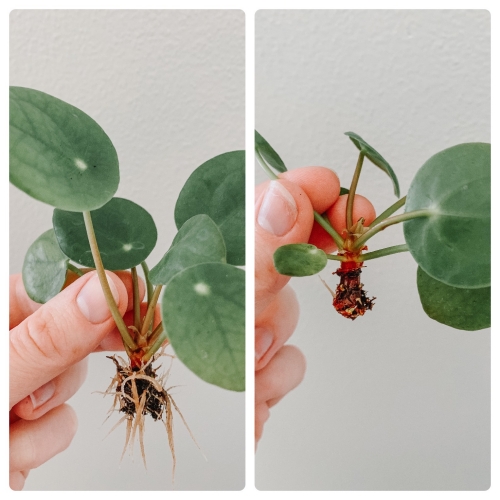
Step 3:
Once you find the perfect baby pilea start scraping away at the dirt surrounding it as best as you can. You want to expose the main root/stem that’s connecting the pup to the mother plant.
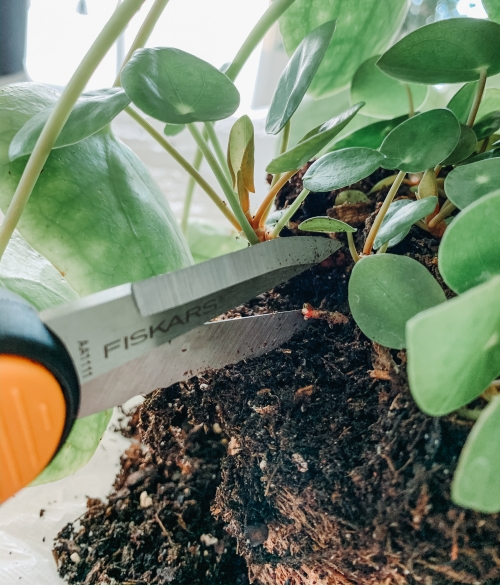
Step 4:
Use your clean, sharp shears to separate the pup from the mama! You want a good amount of stem on the baby.
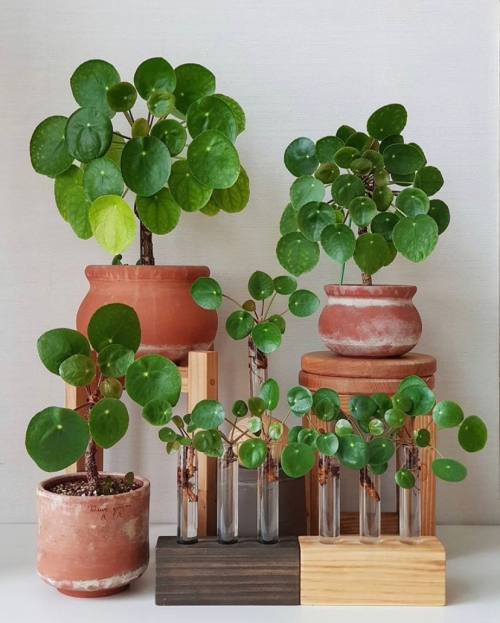
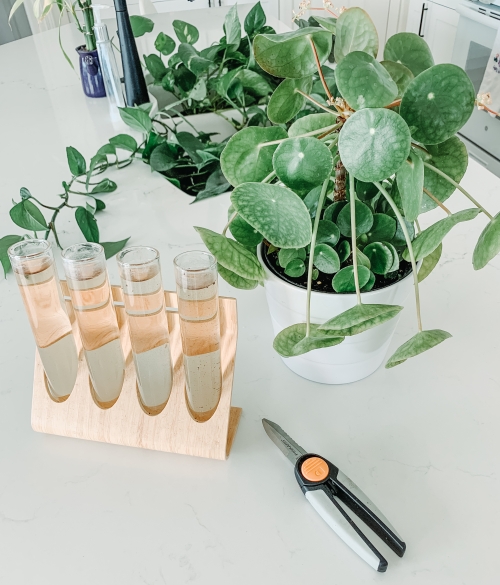
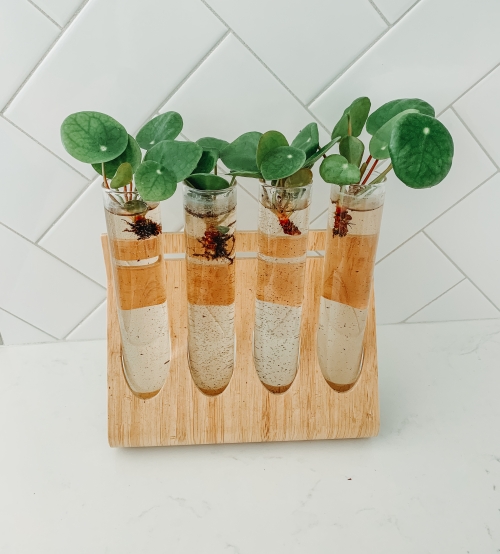
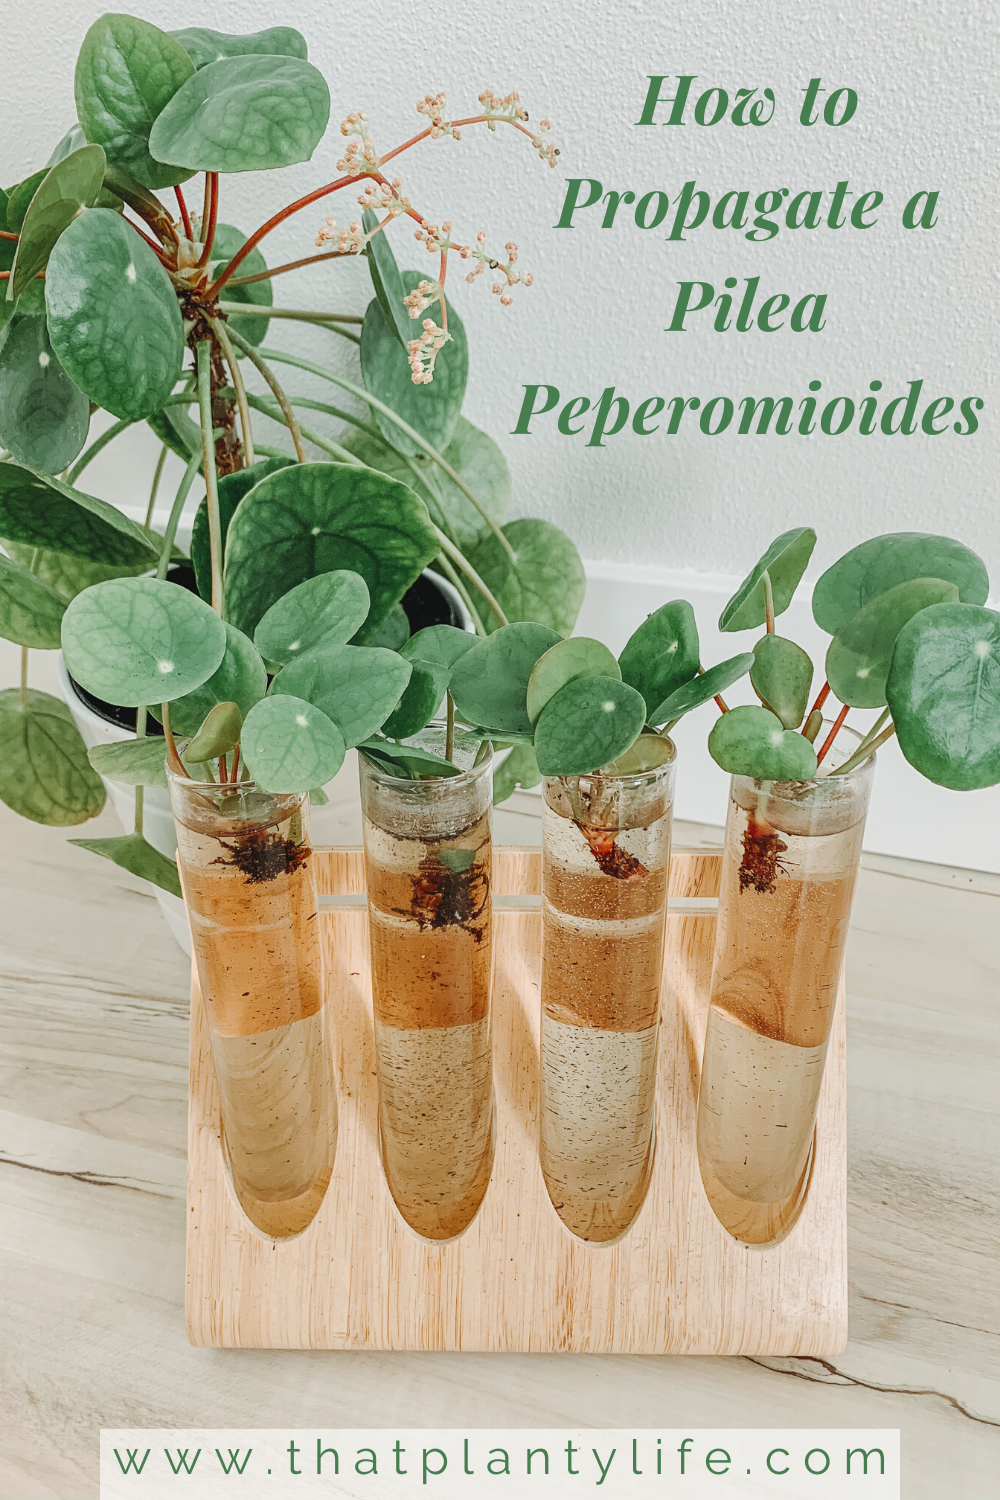
Step 5:
Place your new plant baby in a pretty propagation station with some water mixed with Noot Houseplant Food. Make sure to change out the water weekly and gently wash off the roots if they start to get any muck on them.
I wanted to find out for myself if GrowwithNoot was really worth the hype and in just two weeks of water propagation I had my answer!
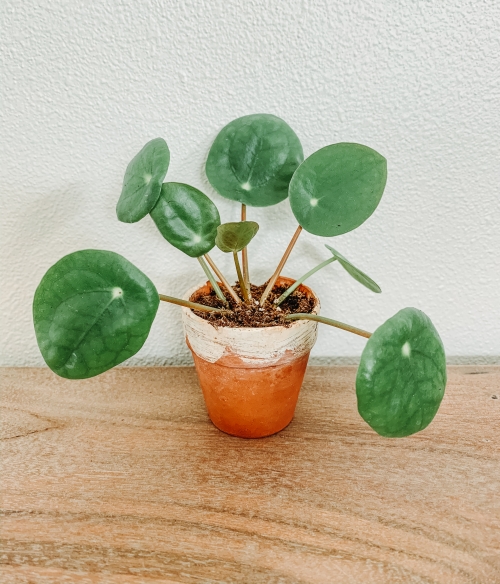
Step 6:
Allow your Pilea pup to propagate until there’s a good amount of roots on it. When it’s ready, plant your baby up with some quality houseplant soil and ta-da! You’ve done it! Now you have a cute tiny plant to add to your collection or to share with a planty friend!
Now you’re ready to go and start making new baby Pilea plants for free! We hope you enjoyed this guide! Comment below if you have any questions we can help you with. Please don’t forget to subscribe so you never miss out on new houseplant tips and tricks!
Pin It!


Very informative on Pilea Peperomioides. I enjoyed the photos and now know how to care for this lovely house plant.